Equipment
DREADMOOR fuel can: Location and Refueling Guide
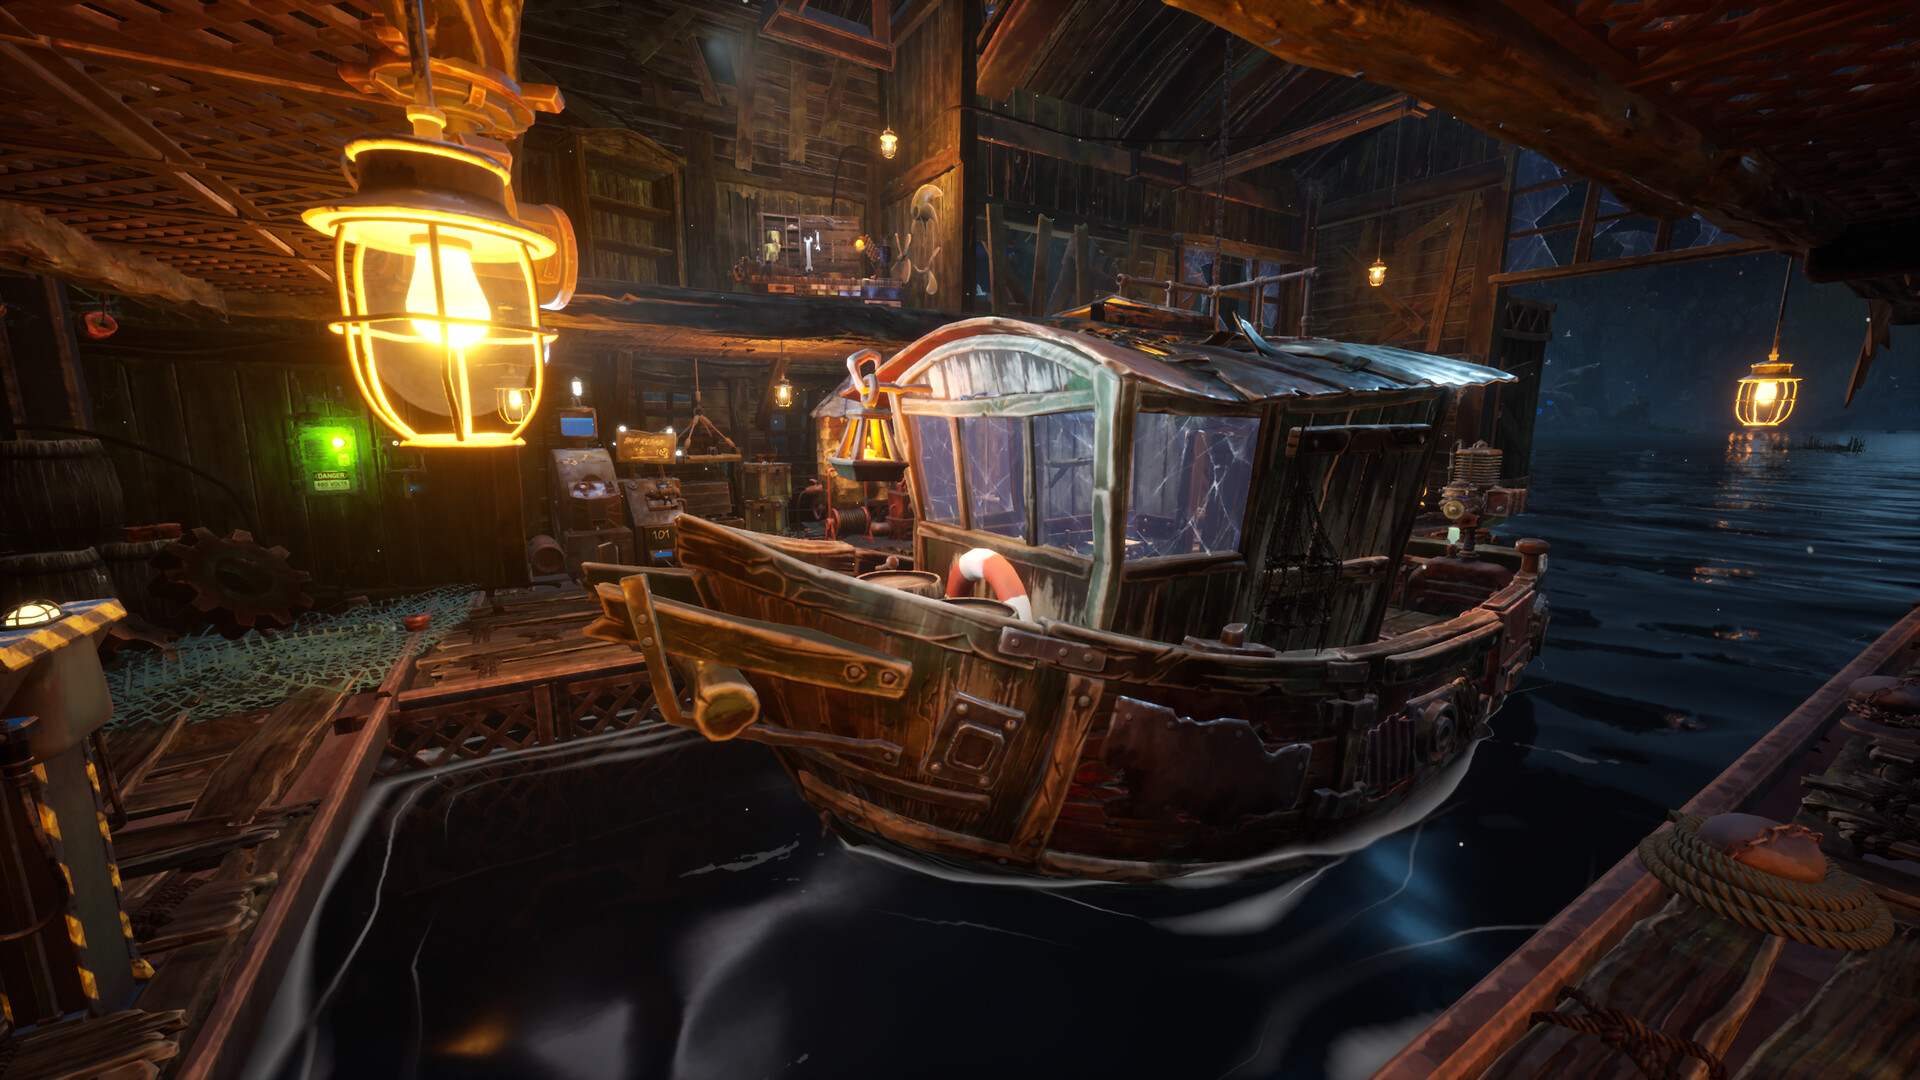
In the documented DREADMOOR PC demo, find the Fuel Can in The Throat's nearby working area, carry it to the generator's Fuel tank, and left-click to pour. Right-click drops the can, and starting the generator requires a separate interaction after refueling. These controls and locations describe the demo sequence; their behavior in Early Access has not been tested.
Where to find the Fuel Can at The Throat
When the generator initially reports that it has no fuel, search the working area around the gate complex before considering a trip back to the Trading Post. The Fuel Can is available within The Throat area, so that initial message does not require sailing away for supplies. Check the nearby working platforms, including the platform by the barrels and fishing net. Use those objects as search landmarks rather than an exact coordinate for the pickup.
Identify the item through its Fuel Can interaction label rather than relying only on the appearance of a container. Similar-looking containers and loose machinery parts can belong to other tasks, so a plausible shape alone does not identify the fuel you need. Pick up the labeled can before returning to the generator. Once you have it, the next step is targeting the generator's tank rather than its starting mechanism.
How to pour fuel into the generator
Carry the can close enough to the generator for the Fuel tank name and amount to appear. That label identifies the destination for pouring; the nearby starting wheel is a separate target. If the tank label never appears, correct your aim before trying the interaction again. Clicking the starting wheel while holding the can does not substitute for selecting the tank.
With the Fuel tank targeted, use the left mouse button to pour in the documented demo. A very short input can leave the generator without enough fuel, so watch whether the tank amount changes or its filling gauge moves. A player report describes holding left-click while keeping the tank targeted and watching that gauge. This supports checking whether your pour was incomplete, but does not establish a universal fix for fuel-related interaction problems.
Read the amount displayed for the can separately from the generator's fuel amount. The container and generator have different capacities, so the can's displayed contents are not the amount you must match in the tank. Fuel remaining in the can can therefore be compatible with a successfully filled generator. Use the changed tank display and the objective advancing to generator startup to judge progress, rather than discarding the can because it still contains fuel.
Start the generator after filling its tank
Once refueling is complete, follow the separate startup prompt on the starting wheel. The documented demo uses a left-mouse Drag interaction here, which is distinct from pouring into the Fuel tank. Carrying the can to the machine, filling its tank, and operating its starter are separate actions. Fuel sitting nearby does not mean the generator has received it, and a filled tank does not mean the engine has started.
What to check when the can drops or stops responding
If the can lands on the ground after you right-click, pick it up again before checking the pour interaction. Right-click is the drop action in the documented demo, so that result alone does not mean the generator rejected your fuel. Return your attention to the Fuel tank label and use the pouring input while targeting it. Keep this case separate from a can that remains visible but no longer offers a pickup prompt.
A visible can without a pickup prompt presents an item-interaction problem rather than an ordinary pouring step. Holding the pouring input cannot be promised to solve that missing prompt. There is also no verified recovery sequence for a disappeared can or one that has fallen through the boat, and no verified console command, respawn recipe, or guaranteed reset to recommend. A report of a stuck pickup working in another build does not establish that the same save will recover.
Boat fuel uses the Fuel Larva and pump nozzle
The motorboat has a separate fueling sequence, so filling The Throat's quest generator does not automatically refuel your boat. For the documented boat sequence, take fish intended for processing to the Grinder and turn them into Fish Meat. Feed the Fish Meat to the Fuel Larva to produce the boat's fuel supply. Producing that supply is followed by a transfer step with the Fuel Gun; feeding the creature alone does not fill the motorboat's tank.
Take the pump nozzle using its interaction prompt, then bring it to the boat's fuel tank. The recorded PC demo uses F to take and return the nozzle, with the left mouse button held while filling. Follow the prompt displayed in your game if its controls differ from those demo inputs. When refueling is finished, return the nozzle to the pump and check the boat's fuel level before departing.
If you have fed the Fuel Larva but the motorboat still shows insufficient fuel, return to the Fuel Gun and complete the nozzle transfer. Before sailing to The Throat, check both the boat's fuel tank and its physical condition. Once there, the route requires moving around the structure on foot rather than staying aboard.
A canister rack is listed as a boat upgrade for keeping spare fuel close at hand. Its description does not specify a capacity or establish any function for recovering a lost generator can. When planning fuel supplies, avoid assuming a fixed distance per tank or an exact consumption rate for a particular engine, because neither is established for this sequence. A guaranteed rescue method after running dry is not established either, so do not build a departure plan around one.
Why the gate can stay closed after refueling
Once the generator supplies power, move to the Gate Control and attempt to operate it. In the documented sequence, the gate does not open normally, and the failed attempt leads to inspecting and repairing damaged waterway machinery. Getting the generator running therefore does not finish the gate puzzle. Use the journal's current objective to distinguish a remaining machinery task from the earlier fuel and startup steps.
If the journal still requests machinery repairs, inspect the Thermal Coil, Gear, both Buckets, and Water Pump. If it instead requests water-flow configuration, the remaining work concerns the channel controls rather than the generator. Both wheels must be operating before the gate can open. At that stage, follow the machinery or channel objective rather than treating the closed gate alone as evidence that you need to pour more fuel.